Tampilkan postingan dengan label back. Tampilkan semua postingan

OH MY BACK bedside cupboards

Minggu, 22 Mei 2016


My back is a large part of why I finally chose to stay home and work.
I did love my *real* job but I was coming home daily in so much pain it wasnt worth while anymore.


The other day as I began working on these bedside cabinets I bent over to pick something up.
Back issues are quite normal for me as I have been dealing with them for a
large part of my life and I am weakest holding things in front of me.
As I started to stand up I gave a little cough and a shooting pain ripped across my back. 
 
Needless to say I continued to work on these precious little guys,
but George was home standing over me making sure I took it easy.
 
 
We found them on our recent Thrift Shop Hop which turned into
a true Garage Sale Grind as we treated one lucky lady to a day filled with fabulous yard sales.
 
 
I painted them in old white, added new legs, and glass hardware.
 
The interior cabinets have been lined,
 
along with the drawers.


And here are a couple of the new treasures that can be found at
firstfinds etsy shop


Read More..

HOW TO UPHOLSTER AN OPEN CHAIR BACK STEP I

Selasa, 17 Mei 2016


Ive received many messages asking for this next tutorial, so no more need to pass by these chairs.
Im going to show you how to get the back of this style chair upholstered.
 
 
We are going to start at the point after all the stripping and frame is already refinished.
 
 
I use a hand held, arm powered stapler with 1/4" staples.
I do have an electric stapler but because of the safety feature
it will not work with the tight ledge of this chair.
 
Here is a close up of the frame profile.
You can even see where the old staples were.
 
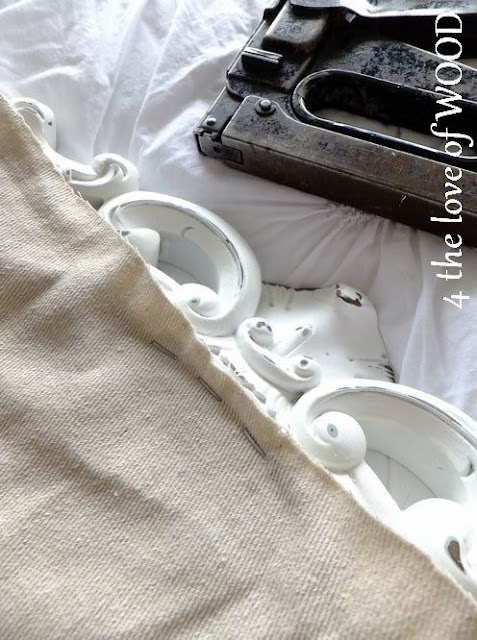
Start by shooting 3 staple in the top edge to start securing your fabric.
 
Figure out the best angle for your stapler to be used with your chair.
 
Here is a close up of where the staples are actually going into the frame.
 
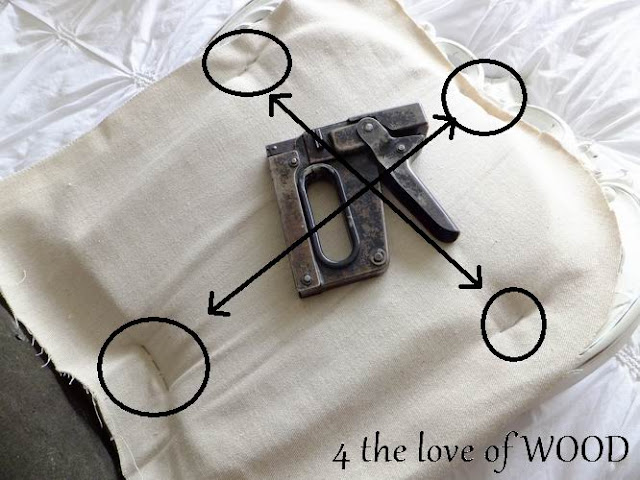
The next place to attach your fabric is directly opposite of your first three staples,
down on the bottom edge.
 
Then across from each other.
 
Hold your fabric taught each time you shoot every staple in.
 
Once you have your 4 points of contact, simply go around attaching your fabric
with staples ever inch, continue to pull the fabric taught.
 
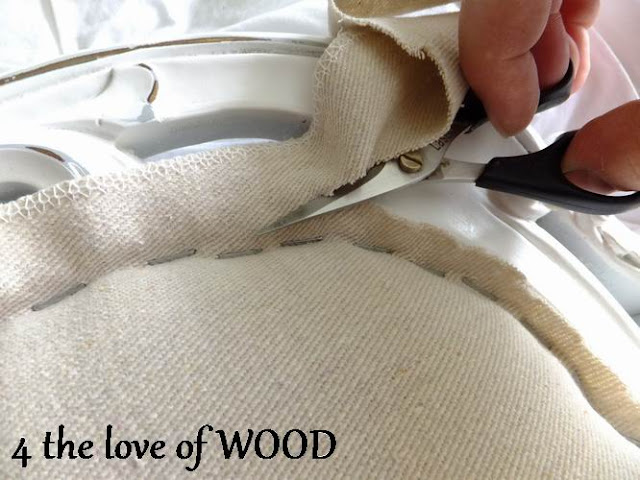
Once you are finished stapling, trim your fabric to 1/2 inch excess, I use small scissors cause
they are easier to work with in close corners.
 
Tip and turn your chair so everything you are doing is comfortable for your hands.
Make sure to pick a good work surface, I use my bed every time.
 
This overhang of fabric will simply be folded in and hidden inside of STEP II
 
You can bounce a coin off the fabric like a drum if done well.
Step II Filler and Front Fabric:
http://blogspot.ca/2013/06/how-to-upholster-open-chair-back-step-ii.html
Read More..

The Back Owie continued

Jumat, 06 Mei 2016

Hi All,
A couple of people have inquired re my back problems of earlier this summer: Im doing much better and Im up and doing well. Im doing some PT right now and Im feeling the best Ive felt all year.
Having a little down time was actually great. I had time to find all of my favorite doo-wop and surfer music videos on YouTube. And I found Lesley Gore too! So in spite of the sore back, I had some fun too.
Thanks,
VW.
Read More..

Back procedure

Rabu, 13 April 2016

Hi Everyone,
Well, Ive had my back procedure done and Im feeling much better. The pain is gone!
Im going to be resting today and then Ill be back to my regular routine tomorrow. Ill be working in the shop on Friday.
VW
Read More..

Band saw back online and snow is due this week!

Selasa, 01 Maret 2016

Hi Everyone,
Well, the new blade is back on the bandsaw and weve cleaned and lubricated all the moving parts and that critter is good to go so I cut up a whole pile of lumber that was beginning to stack up.
Ive got several tea boxes in the works right now-all of them are laminated blocks of different types of scrap lumber. They are all about 3 inches deep and six inches in diameter although I may cut them down just a little from those dimensions. All are out of wood that have been kiln dried and the scent in all of them is mostly absent and thats important for a closed container.
Ive brought them all inside to dry as its getting too cold for glue to dry now.
Im going to work on one of them early tomorrow morning and Ill post photos afterwards.
Its supposed to snow this Wednesday!
VW
Read More..

HOW TO UPHOLSTER AN OPEN CHAIR BACK step II

Jumat, 26 Februari 2016

 
When I last left you we had just finished upholstering the back side of a chair.
http://blogspot.ca/2013/06/how-to-upholster-open-chair-back-step-i.html
 
 
Now its time for the filling and front fabric.
 
 
Many different materials can be used to fill in the back cushioning,
but these chairs originally had 1" foam in the back rest so I chose that.
 
 
Mark out your shape and cut it to fit.
 
 
I then trim the front edge off the foam to soften the look under the upholstery.
 
You are getting excited, I can tell.
 
Time to secure your front fabric.
As mentioned in Part I, I use a hand held hand, arm powered stapler.
There is no extra room with this install for pneumatic staplers with the safety feature.
 
Before you start make sure to fold over the excess edge from the back fabric, as seen above.
 
First staple ...
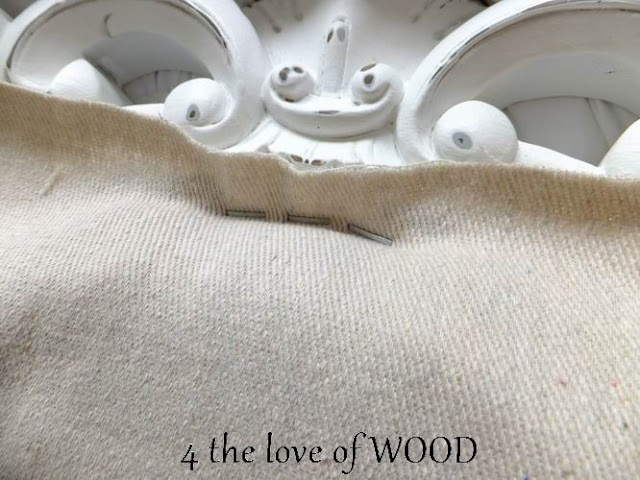
 
and a few more ....
 
 As in PART I when you secured your back fabric,
you are going to make another cross when you start to staple the front fabric in place.
 
 
Hold the fabric taught each time you shoot a staple in.
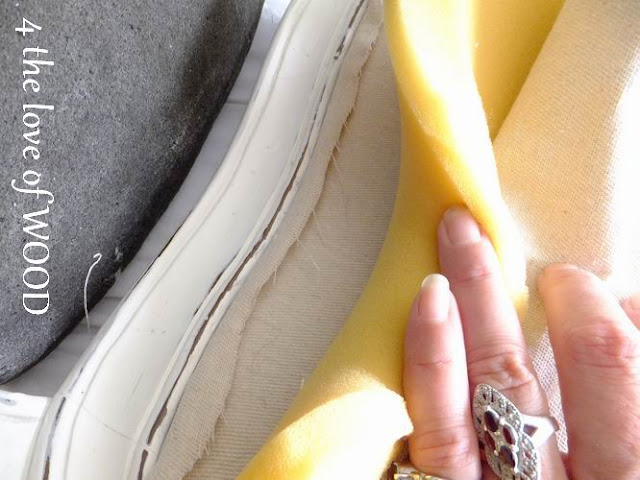
 
Continue folding the edge of the back fabric inside to hide it as you go along.
 
continue securing the fabric along the edge with your staple gun.
 
Now is the time to decide if the fabric looks good and tight in the right places.
 
I didnt like how this area looked so I remove one staple, pulled it tighter, and re secured it.
 
Take your tiny scissors and trim the excess fabric quite uniform at 1/2" long.
Small scissors are easier to use in close and tight to the frame.
 
 
This bit of excess is going to be folded over and glued.
 
Here you can see how important it is to have a uniformed edge for the fold over and gluing.
This edge is going to be covered with your trim. Secure your trim / gimp with a hot glue gun. 
I like using a wider trim so in case I made a boo boo I have some room for errors.
 
 
So far I have finished 2 of the four chairs I have.
Each being done in a different finish, the first one was the Pale Provence Chair
and the second was the Glamorous Grey chair.
 
 
Im still finishing the last 2 of these chairs I have.
One is bright distressed white and the other is going to be a warm vintage white.
Stay tuned for a few more tips on refinishing the frames.
 
?
Read More..
GETTING BACK TO WORK white table bread box

Jumat, 19 Februari 2016

 
I cant believe what this flu has put me through in the last 2 weeks.
I have never experienced anything like it before and do not wish it upon anyone else.
Im still sick and napping several times a day, but the projects have started again. 
 
 
Im taking it easy doing up some small stuff and simpler painting projects.
 
This table needed repairs, cleaning, and a new paint job
I could manage that.
 
It has a rustic white finish with a wax top coat.
 
It can be used in many different places in your home,
bedside table, extra kitchen surface, desk, front entry, laundry room, the list goes on. 
 
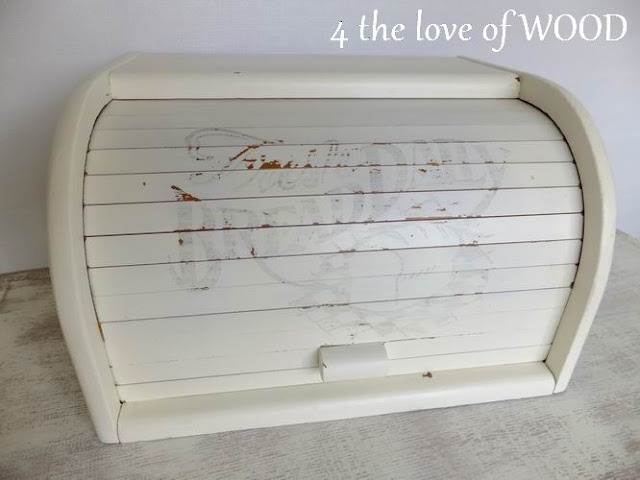
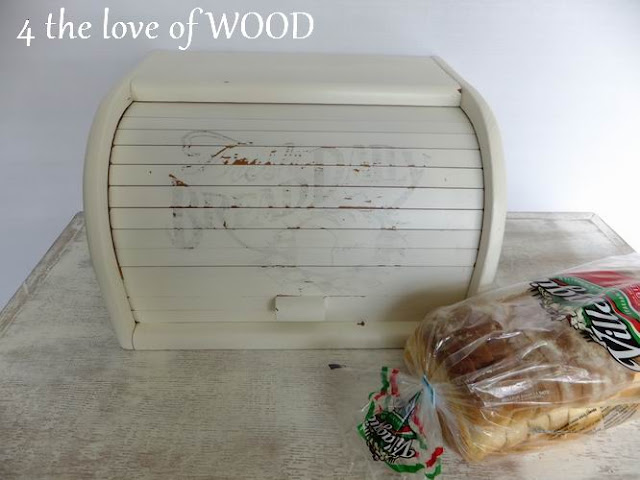
Another project I tackled was a bread box.
 
I found this one on our Thrift Shop Hop last week.
I painted it a creamy white and added a fresh bread daily graphic to the door.


Read More..