Tampilkan postingan dengan label handles. Tampilkan semua postingan

THE WEATHER TIN HANDLES large nightstands

Kamis, 12 Mei 2016


Besides the 12 days of fog, the weather has been nice enough here that I have been able to
spray paint some things out side. As well my friend calls just to let me know how
upset he is that its warmer in Western Canada than at his home in Central Florida.
Heres hoping spring comes to everyone a bit sooner than expected.
 
 
This is a pair of nightstands I finished thanks in part to the nice weather.
They are quite large like the ones below.


They are painted in 50 -50 mix of ASCP Old & Pure White.


I used a set of antique tin swing handles that have been sitting around in the Etsy shop. I really
adore antique handles and was surprise these were still available, so I liberated them.
The back plates are thin and the detailed shape is pressed into the metal. I love the look!
 
To create these I took a plain set of pine nightstands and attached coffee table legs to them.
If you want to learn more about how I do this check out this article I wrote:
http://blogspot.ca/2013/11/tutorial-adding-legs-to-nightstands.html
 
This pair of large nightstands has been listed on the SHOWROOM page with price and dimensions.


Read More..

HOW TO MEASURE YOUR HANDLES tutorial

Rabu, 27 April 2016

 
How to measure for replacement handles and mounting screws.
 
 
99% of the time you will be dealing with a measurement on the quarter ...
Meaning the measurement will be
3" - 3.25" - 3.5" - 3.75"
3 inches - 3 1/4 inches - 3 1/2 inches - 3 3/4 inches and so on
 
A quarter of an inch is easy to misread so double checking is always wise
and measuring with a tape from the 1 inch mark is best.
 
This handle above has a 4 inch center to center mounting.
 
 
Now to the screw length ...
 
If you have picked a simple flush mounted handle you simple measure the drawer or door thickness
and add a quarter inch.
 
Flush mounting means the handle sits flat on the surface like the ones shown below.?
 
If you pick a handle with a collar that goes part way into the drawer or door
 
 
you have to compensate for that length as seen below.
 
 
THINGS TO NOTE:
 
It is better to keep mounting screws with the furniture they came on than to remove them
and keep with the hardware because they already match the thickness of the wood.
 
Most hardware has the same thread pattern for mounting screws. Every so often
you will come across an antique piece with a smaller thread. These screws should be kept
with the hardware.
 
Your local home improvement store offers inexpensive mounting screws.
These are usually cutable to several different lengths.
I also offer a tutorial on How to fill hardware holes here
and a tutorial on installing your hardware here
You can find great hardware here, Etsy shop
Read More..

INSTALLING DRAWER HANDLES without measuring

Selasa, 22 Maret 2016


To start with I have filled the original holes on this drawer front and painted it.
 
For instructions on how to fill hardware holes follow this link:
http://blogspot.ca/2011/02/dont-limit-yourself-filling-tutorial.html
 
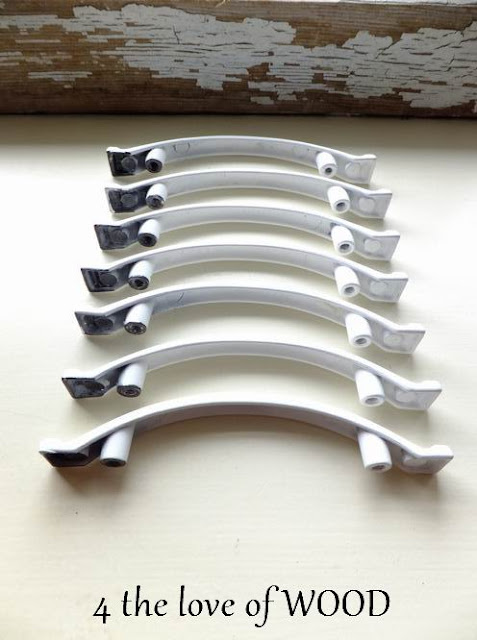
Here are the handles I chose.
 
 
Now the secret to your success is knowing where the holes were that you filled in.
No matter how great a job you do filling in, there is always the tiniest evidence you can see.
 
 
I use these points as my reference marks to position the new handle in a true position.
Standing directly over the drawer looking down helps a great deal.
 
 
Take your time and once you have your spot picked,
put pressure on the handle and rock it back and forth.
 
This will leave small marks in the paint, reference points for you to drill.
 
Most handles have a small threaded collar that goes into the front of the drawer.
Make sure to check your drill size by comparing it to this threaded collar.
 
Drill one side slowly and brush away the sawdust before checking your fit.
 
Then double check your mark on the other side is in the right place.
Its like measuring twice and cutting once, plz double check!!
 
If for some reason you were off by an 1/8 of an inch it can become a problem.
It is fixable but if you check twice you wont have to email me for the solution.
 
Drill your second hole.
 
Now simply screw your handle in place.
 
Repeat each step for all your drawers.?
 
Stop by firstfinds if you are in need of some shabby chic hardware to install in your drawers.
https://www.etsy.com/ca/shop/Firstfinds
 
 
Read More..

A CLASS A DRESSER AND SOME HANDLES union jack dresser

Minggu, 14 Februari 2016

**THE CLASS**

Hear Ye, Hear Ye
Come One Come All
On this day, 5th of June, in the year of our lord 2012,
for the amusement of all doth announce
Ive been asked to teach a union jack class at
The Passionate Home
20506 Fraser Hwy
Langley BC
http://www.thepassionatehome.com/
604 532 5931
Give the store a call to book your spot.
Ill show you how to lay out the pattern of this English Flag so you can apply it to many projects.
During this hands on event
we will be working with a dresser and using the classic red, white, and blue
and with the technics I show you
you can use any color combination on your own projects.

**THE DRESSER**

And for those interested in having their own Union Jack Dresser with out the work 
 
**THE HANDLES**
And last but certainly not least
George has a set of 4 similar antique swing handles like the ones I just used
on the latest Union Jack available in his ETSY shop.
Read More..