Id like to take a moment out of your day to impress upon you the extent of
damage there was on this piece of furniture.
What was I thinking?
better yet ...
What were they thinking?
Who doesnt love Spiderman?
Both sides of the cabinet looked like this.
Inside the drawer were clothing tags glued down.
You do realize the child that owned this could now be grown up and one of our premier designers!
Im betting not but you just never know.
See the writing and all the ink stains, some of it was three dimensional and glittery.
I do get distracted by shiny things, maybe it was the glitter pen that first attracted me,
or maybe for Halloween this year George should dress as Spiderman.
Eventually I got it cleaned up and repainted.
Thats when the transformation into something new and exciting really started.
I took an old kitchen cabinet door and cut it to fit the bottom opening.
Next I used some more kitchen doors to build into a tower.
I topped the tower with this wooden wall hook thingy that I picked up on one of our
THRIFT SHOP HOPS
For the back I used tongue and groove bead board bought at a yard sale.
Then the last few details were added ...
A piece of ornate metal work from a trellis and some glass hardware for the
cupboard and drawer.
She is now the most attractive bathroom storage cabinet in the land,
and will be on her way home within the next few days.
Cause someone has already claimed her.
I have a feeling I might have to do a few more of these storage towers.
Sharing with:
I think it was last fall when I first saw this mini cupboard, it was attached to an email asking
if I could give it a makeover. I was intrigued and let her know something could definitely be done
to update and beautify the piece.
Fast forward 3/4 of a year and the owner has changed plans and sold me the cabinet as is was.
I had a special set of legs put a side. Originally taken from a big broken down coffee table, the legs
were gorgeous but the shape was a bit different. I got underneath the cabinet and checked
out how they would work, conclusion was they would attach well and create a great new style.
I installed 3 small trim pieces to the top edge making a crown and changing the cabinets shape.
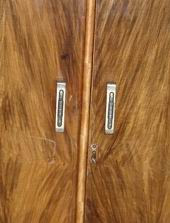
I added to this new style by removing the simple handles and replacing
them with vintage French Provincial ones.
The cabinet even came with a skeleton key, its not the original and
doesnt work perfectly but it adds to the overall glamour.
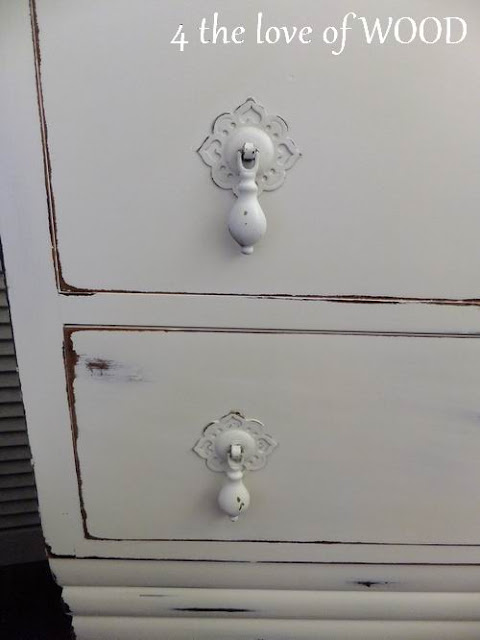
The drawers got antique drop pulls left over from an older project. When your hardware is super
fancy you can paint it the same color as the furniture and it will still pop and look stunning!
This cabinet is loved again and fits perfectly in its new home.
************************
Read More..
I want to show you how I rebuild a missing area of veneer
on a newly finished antique cabinet top that has just been finished.
This is the second article of the much anticipated VENEER series.
The first article explained how to deal with edge gluing loose veneer
Below is our missing bit of veneer we are going to work on.
Start by sanding any loose bits away.
Make a nice big fat centipede of wood filler.
GENTLEY flatten out the filler, over-filling the area.

Let this harden really good, a whole day would be best.

You need it to be solid because now your going to sand it smooth.


 ?
?